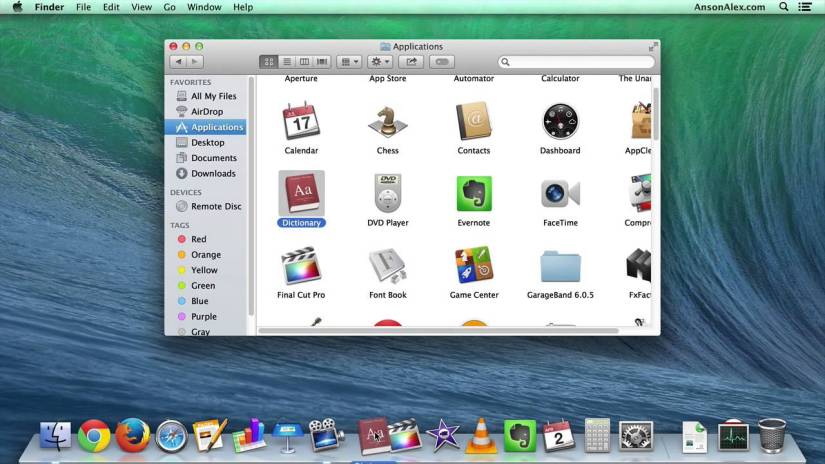
The icons are the stylized representation of objects that help users to navigate a computer program. An icon is a logical symbol of a software tool, program, function, etc.
Your Mac’s desktop is much like your workplace, and the workplace should be comfortable for you. But, sometimes it requires personalizing to make it looks good. Apple icons support a broad range icon types (vary from 16×16 pixels to 1024×1024).
To give a personal touch to your desktop, changing icons is an excellent and most natural way.
How to Download the Icon Sets
To personalize your Mac desktop icons, you need some new icons. There are many icon collections are available on the internet.
- Open your browser and search for ‘Mac icons’ in your preferred search engine. Choose a good website from the search result which offers free and low-cost icon collections.
- Some websites supplies icons in the form of empty folders in which the icon is already implemented. A user can easily copy the icons to other folders or drives.
- Icon sets are downloaded in disk image (.dmg) file. And this is automatically converted to a folder when downloaded completely. The user can find in their default downloads folder.
How to change your Mac’s folder Icons
To change your Mac’s folder icon, find the downloaded icon set file (empty folder with no content) and copy and paste the icon you want to use into the Get Info menu.
Step by step guidance for changing the folder icons in Mac:
- Navigate to the downloaded icon set file.
- Open the icon folder.
- Right-click on the icon, you want to use.
- Choose ‘Get Info’ from the pop-up options to open Get info window.
- Click and select the ‘Thumbnail icon.’ Thumbnail icon is on the top left corner of the window.
- Press ‘Command + C’ or open ‘Edit’ menu and select copy, to copy the icon into the clipboard and close the ‘Get Info’ window.
- Now, navigate to the folder or drive, you want to personalize.
- Right-click on it.
- Choose ‘Get Info’ from the pop-up options to open Get info window.
- Click and select the ‘Thumbnail icon.’ Thumbnail icon is on the top left corner of the window.
- Press ‘Command + V’ or open ‘Edit’ Menu and select paste, to paste the copied icon into the clipboard of the selected folder or drive.
- And, close the ‘Get Info’ window to save.
Now, the personalized folder or drive will display the new icon.
For ICNS icon format
ICNS files provide a handy way to store and distribute Mac icons. But, there is a little different method for copying an icon from ICNS files to a folder or drive.
- Right-click on the folder or drive that you want to personalize the icon.
- Choose ‘Get Info’ from the pop-up options to open Get info window and keep the window open.
- Navigate to the folder in which icon is downloaded.
- Open the folder labeled as Mac.
- Click and hold an icon (.icns). You want to use.
- Now, drag it into the ‘Get Info’ window.
- And drop it on the ‘Thumbnail’ icon at the top-left corner.
The icon of the selected folder or drive is changed with the new icon.
Carl Smith is a self-professed security expert; he has been making the people aware of the security threats. His passion is to write about Cyber security, cryptography, malware, social engineering, internet and new media. He writes for Norton security products at norton.com/setup.
